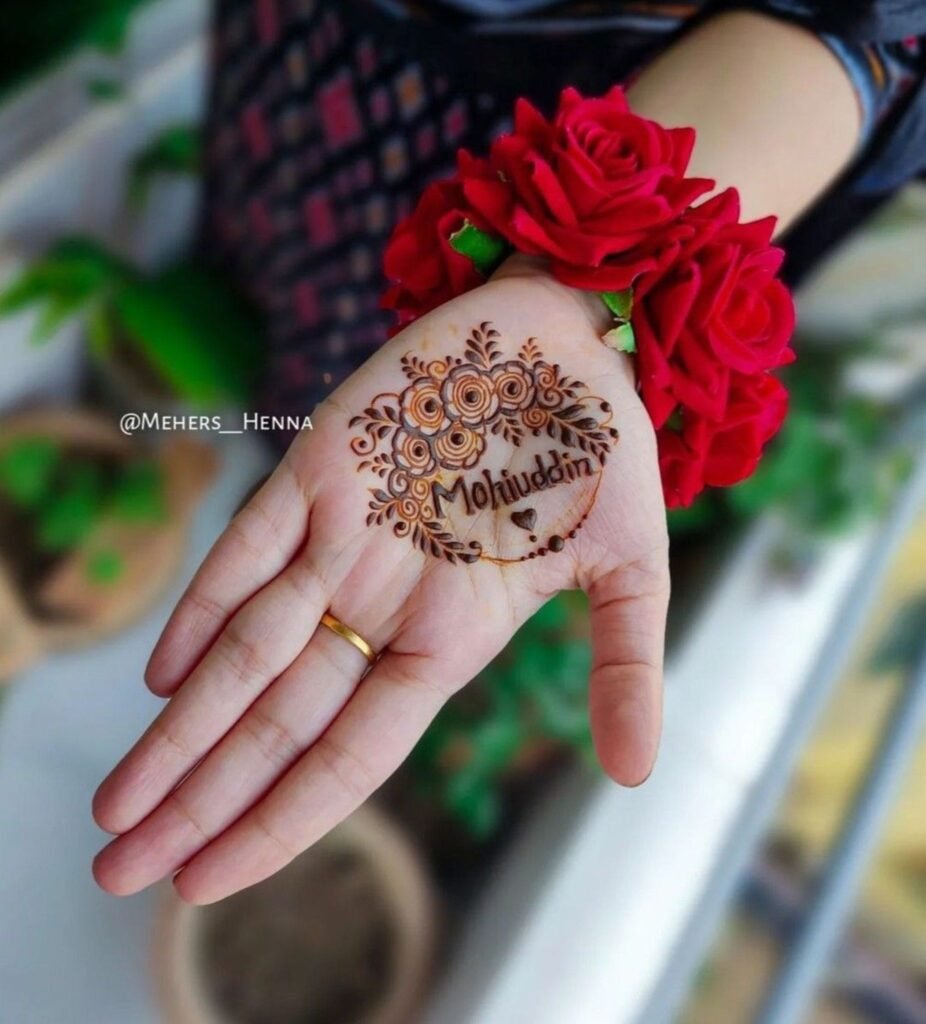
Looking for a beautiful way to add a personal touch to your mehndi? Simple mehndi design with names are the perfect blend of elegance and sentimentality, allowing you to celebrate loved ones or special occasions while keeping your henna delicate and easy to apply.
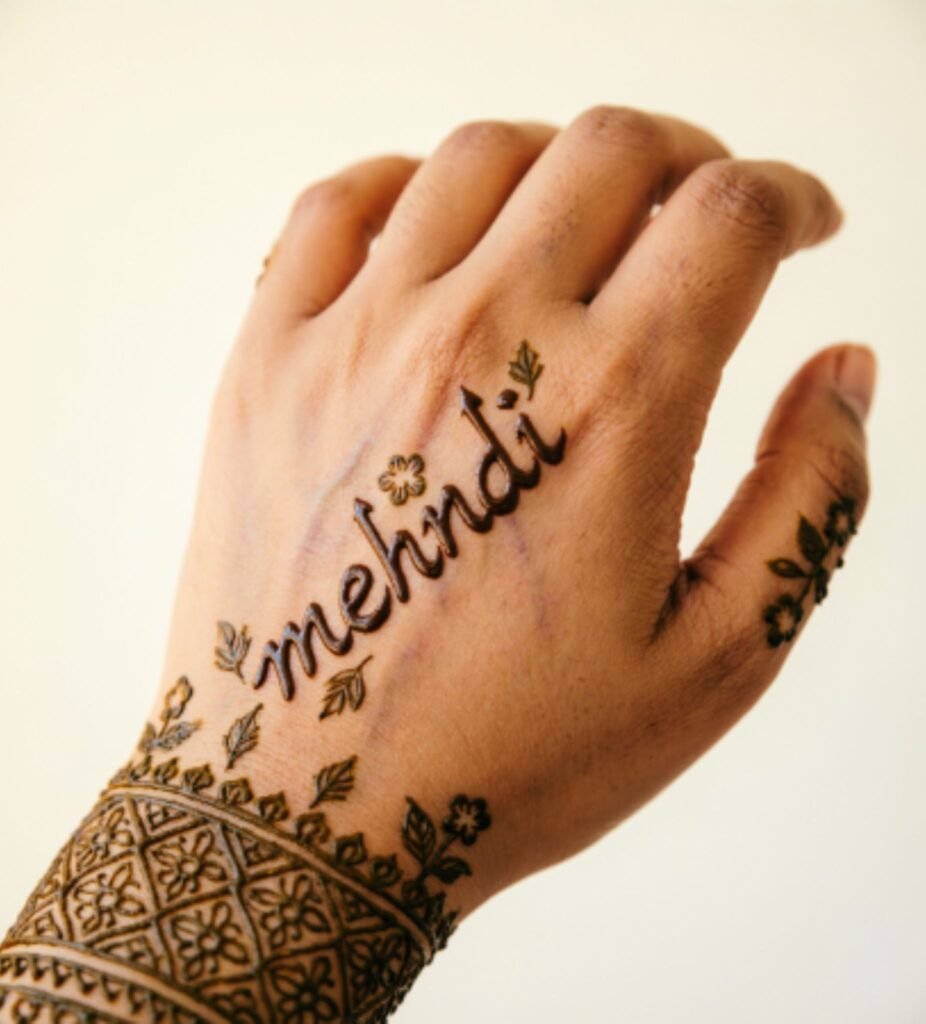
1. Minimalist Name Mehndi for Beginners
Minimalist designs heavily utilize “Negative Space” , the empty area left around the name that makes it pop and stand out. Simple mehndi design with names, are pretiest.
Beginner Tip: If you’re writing a name for the first time, lightly sketch the name with a pencil on your hand first, then carefully trace over it with the mehndi cone. This gives you confidence and reduces mistakes.
Design Elements:
- Single line cursive writing
- Small dots for decoration
- Thin, clean strokes
- Maximum 2-3 decorative elements
![]Name Mehndi for Beginners](https://mehndichic.com/wp-content/uploads/2026/02/Minimalist-Name-Mehndi-for-Beginners-3-926x1024.jpg)
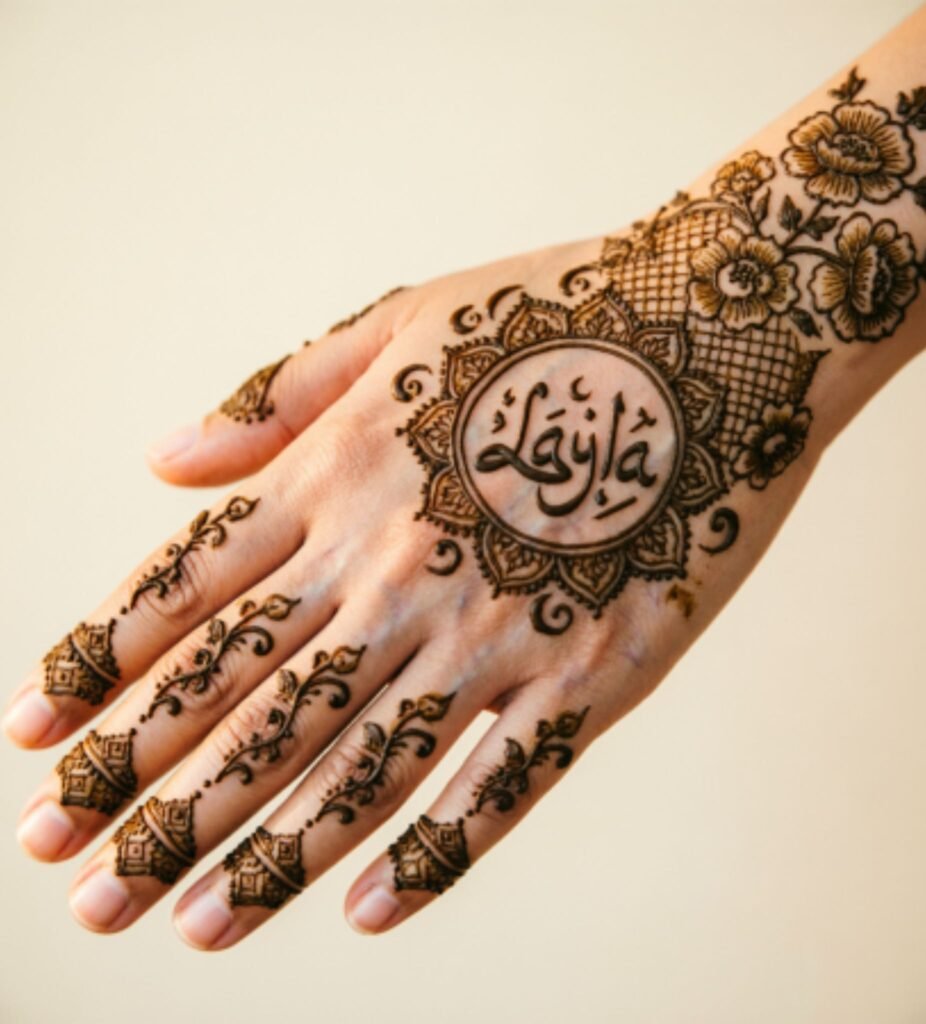
2. Floral Border Name Designs
Floral embellishments don’t overwhelm the name but beautifully frame it. Use “Petite Flowers” (small flowers) and “Dotted Vines” (vine patterns made with dots) ; these don’t compromise the name’s readability but instead give it a soft, delicate frame.
Best Occasions: These designs are perfect for Eid celebrations and family gatherings where you want a traditional yet elegant look.
Design Tips:
- Keep the name centered
- Place small flowers at the corners
- Arrange leaves above and below the name
- Maintain symmetry
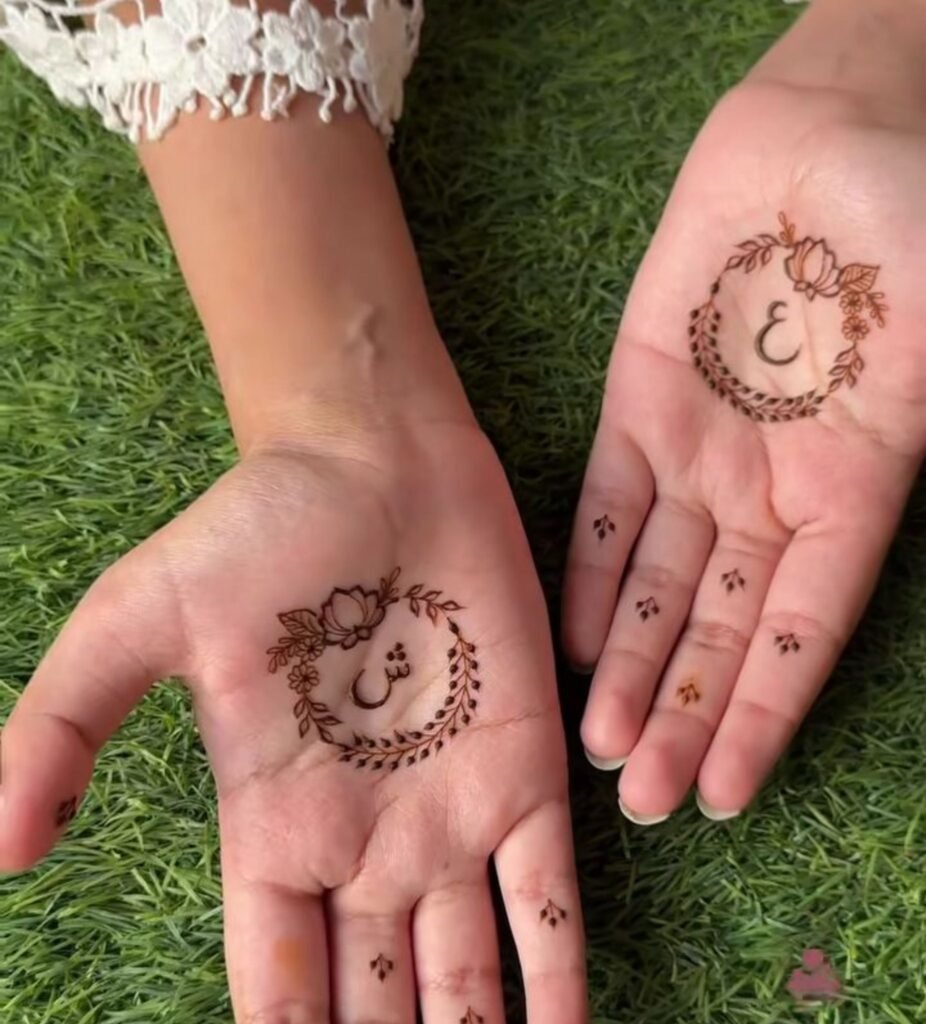
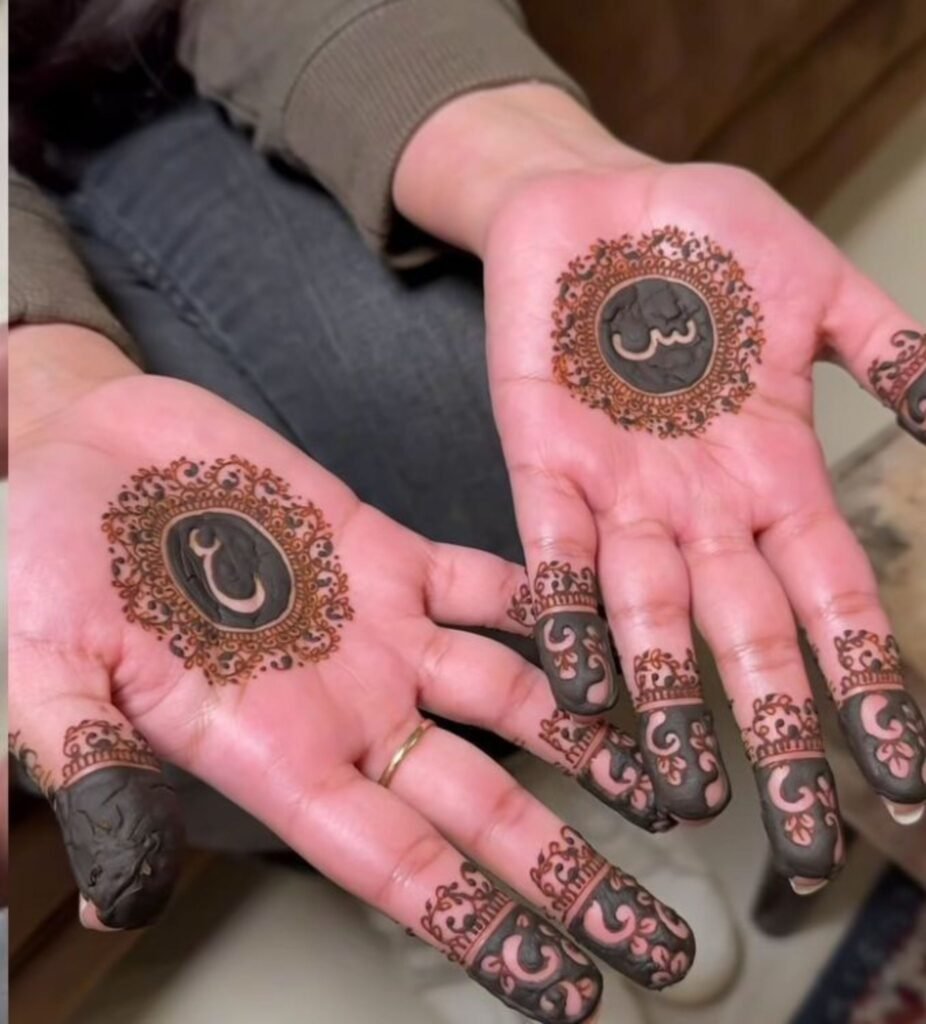
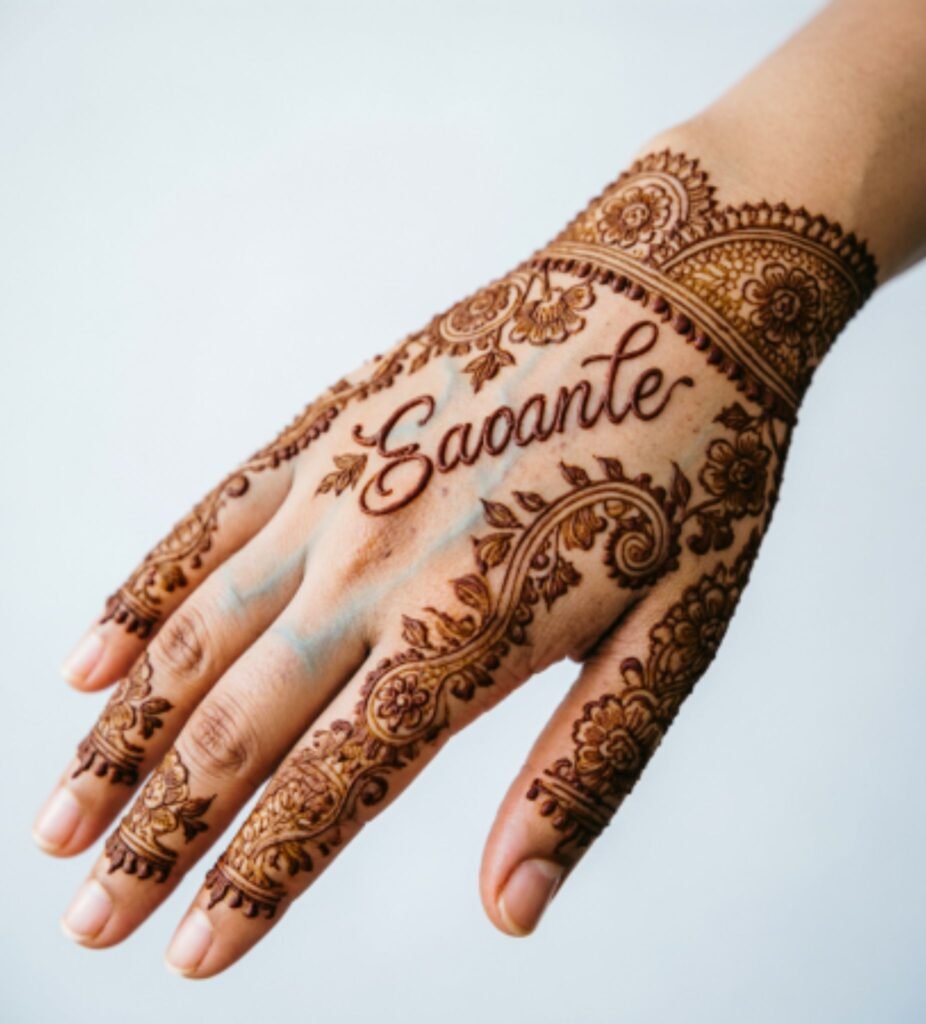
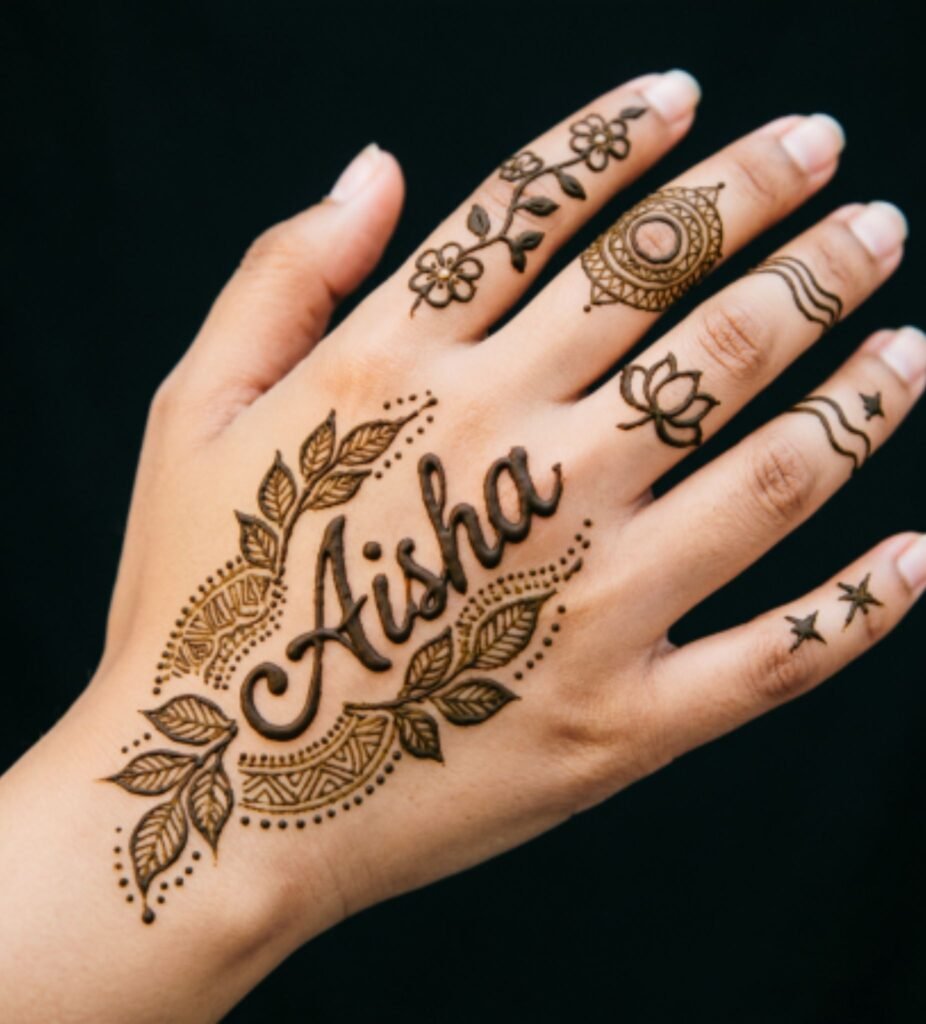
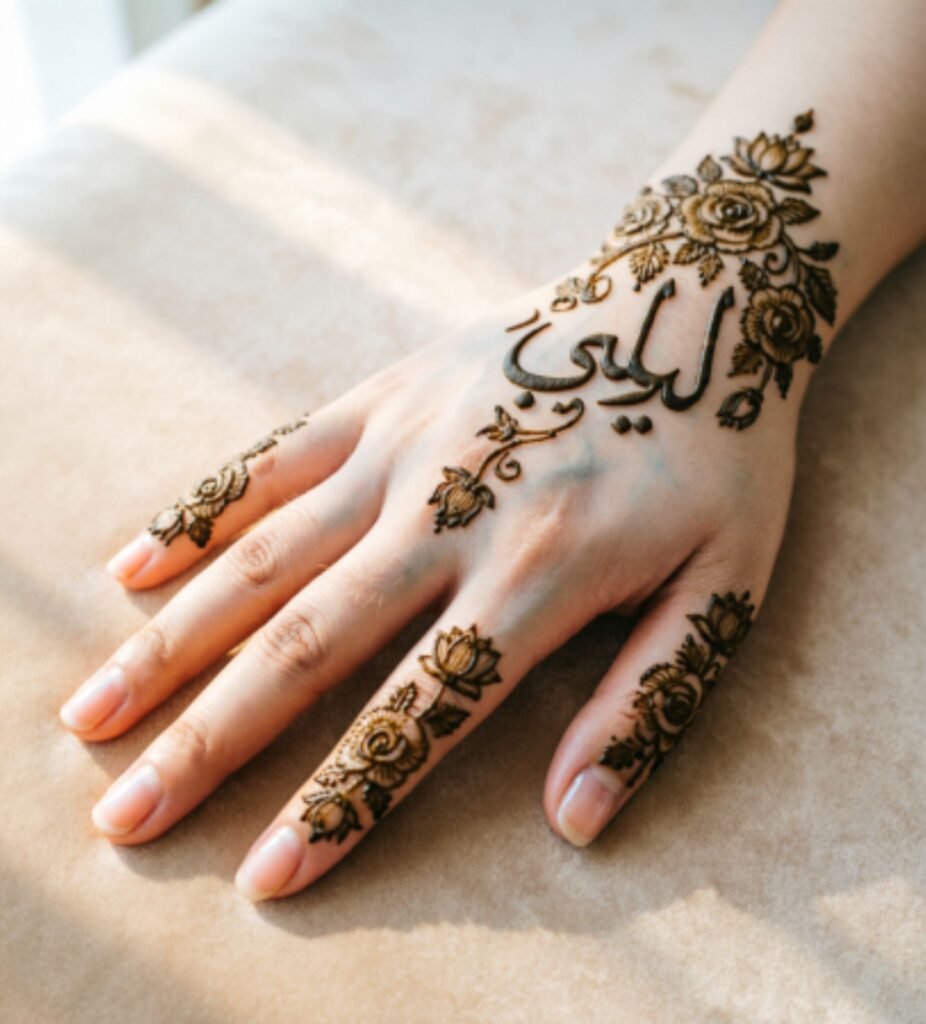
3. Finger and Hand Back Name Mehndi
When writing names on the back of the hand, consider “Vertical Placement” (writing the name in a vertical direction) that naturally elongates and slims the hand, creating a very elegant appearance.
Current Trend: Writing names on the index finger is the hottest trend right now. It’s subtle yet very stylish, especially when wearing rings.
Placement Ideas:
- Index finger: Full name written vertically
- Back hand center: Cursive name with small mandala
- Side hand: Diagonal name with floral trail
- Multiple fingers: One letter per finger
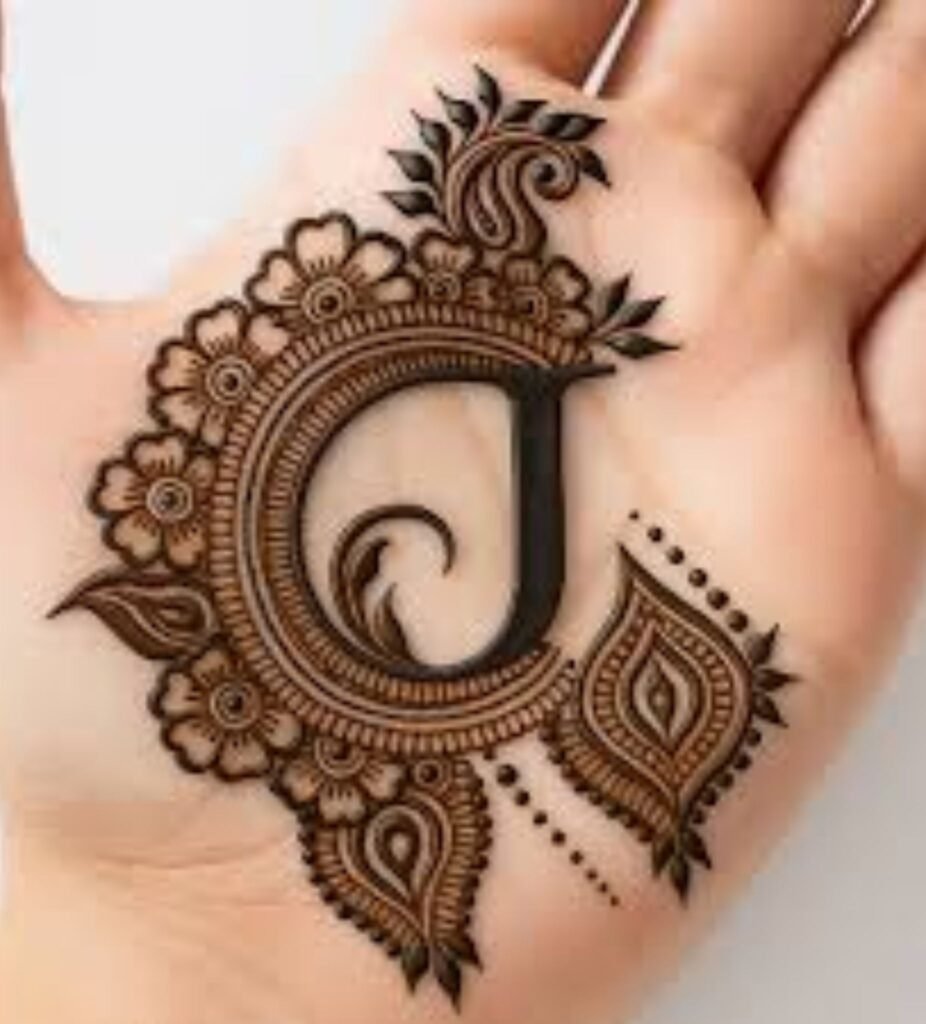
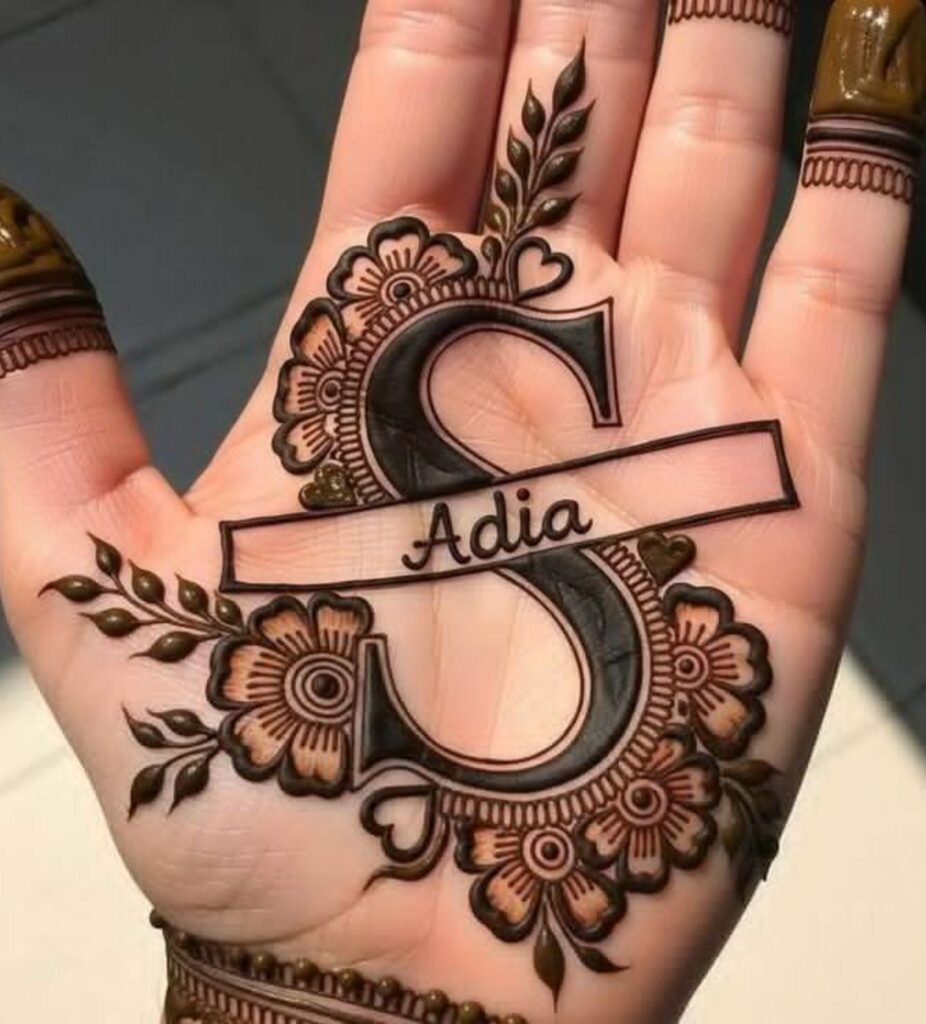
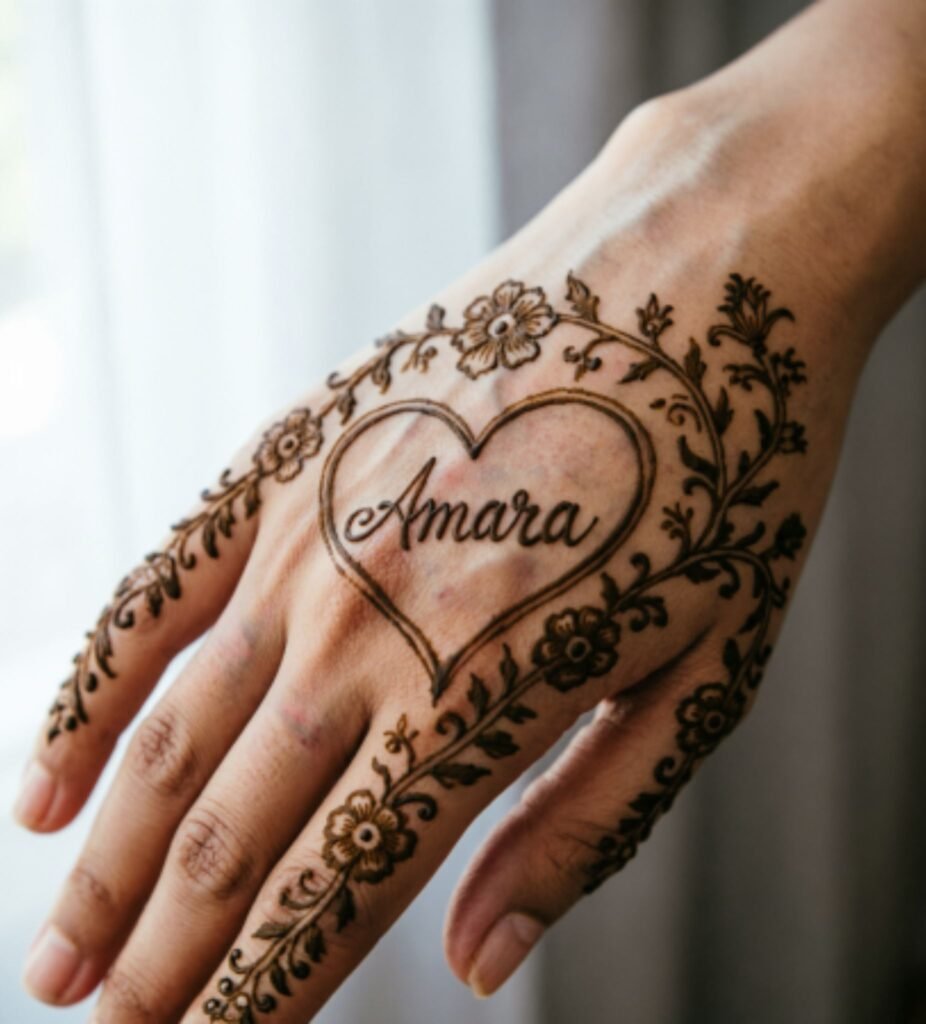
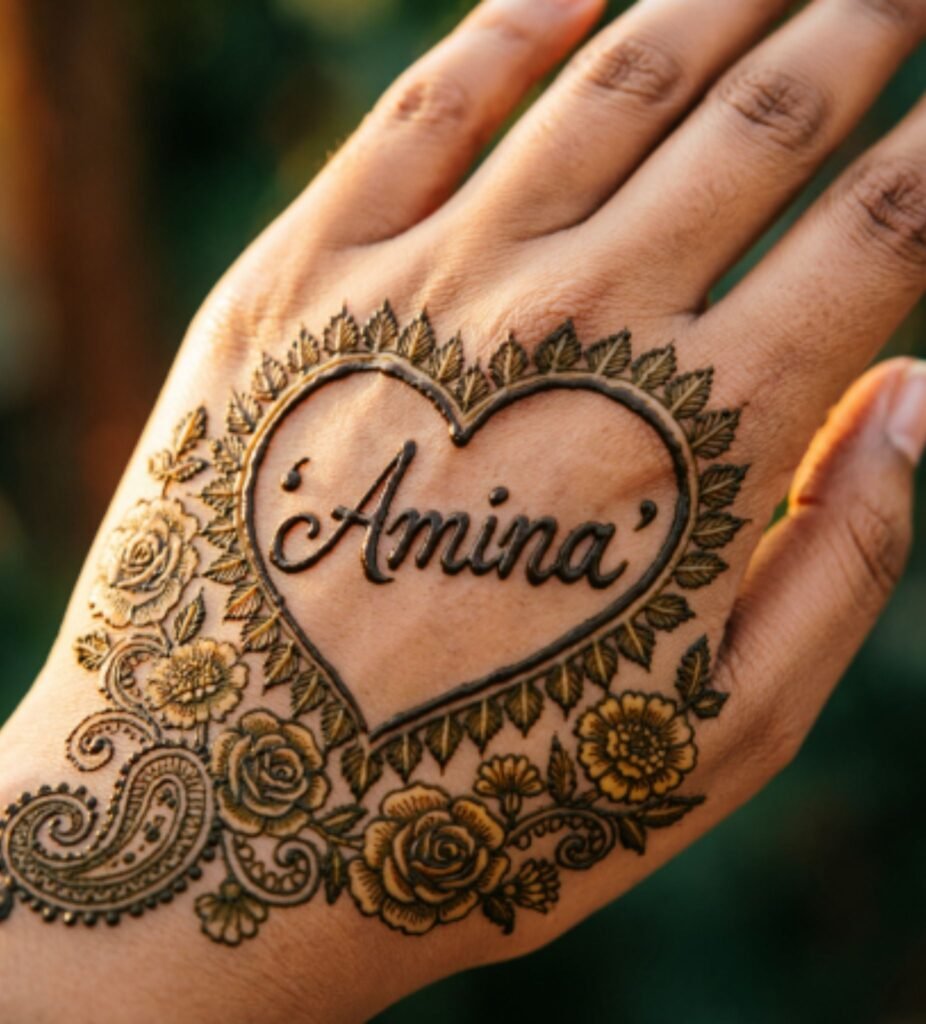
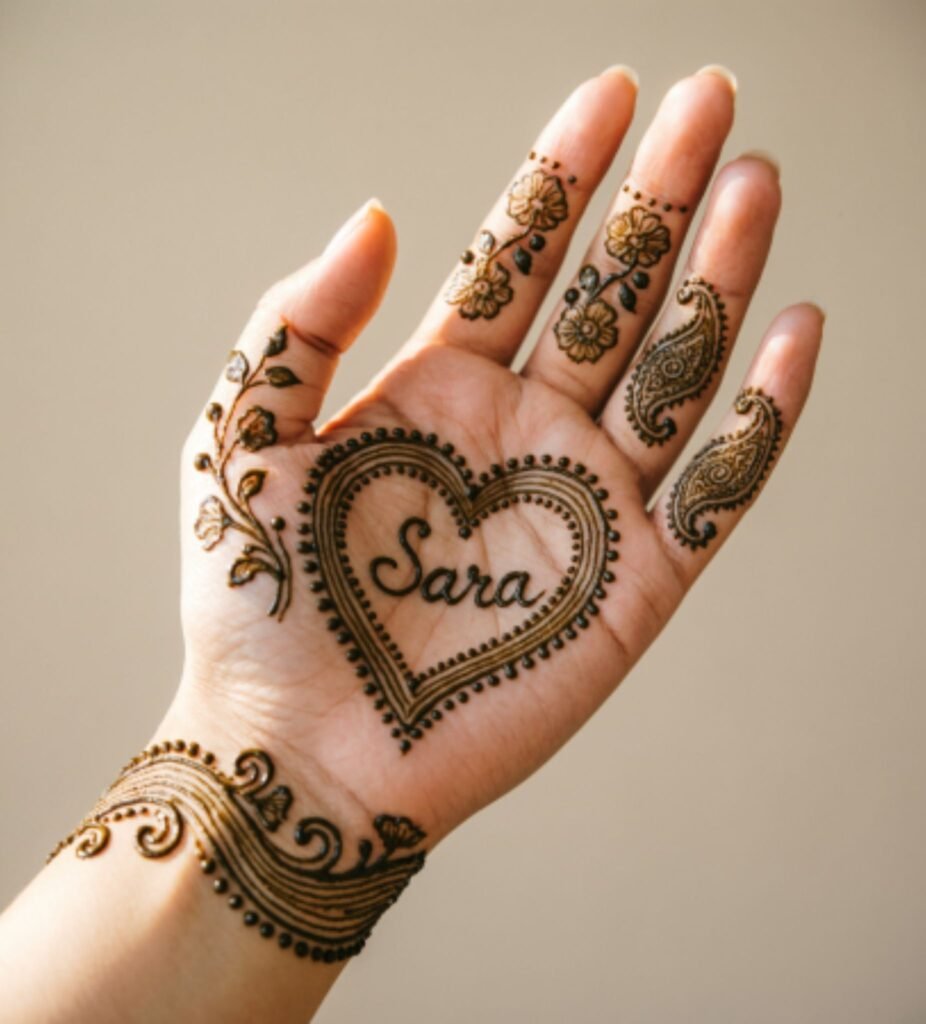
4. Heart Shaped Name Mehndi Patterns
Heart designs often feature “Interlocking Initials” (artistically combining two letters) – like in weddings where the bride and groom’s first letters are joined in an artistic way.
Emotional Connect: This design isn’t just decoration, it’s a sentiment. These are ideal for bridal showers, anniversaries, or engagement functions where you want to express your love.
Heart Design Variations:
- Solid heart outline with name inside
- Filigree heart with interlocked initials
- Double heart (both partners’ names)
- Heart with arrow and name

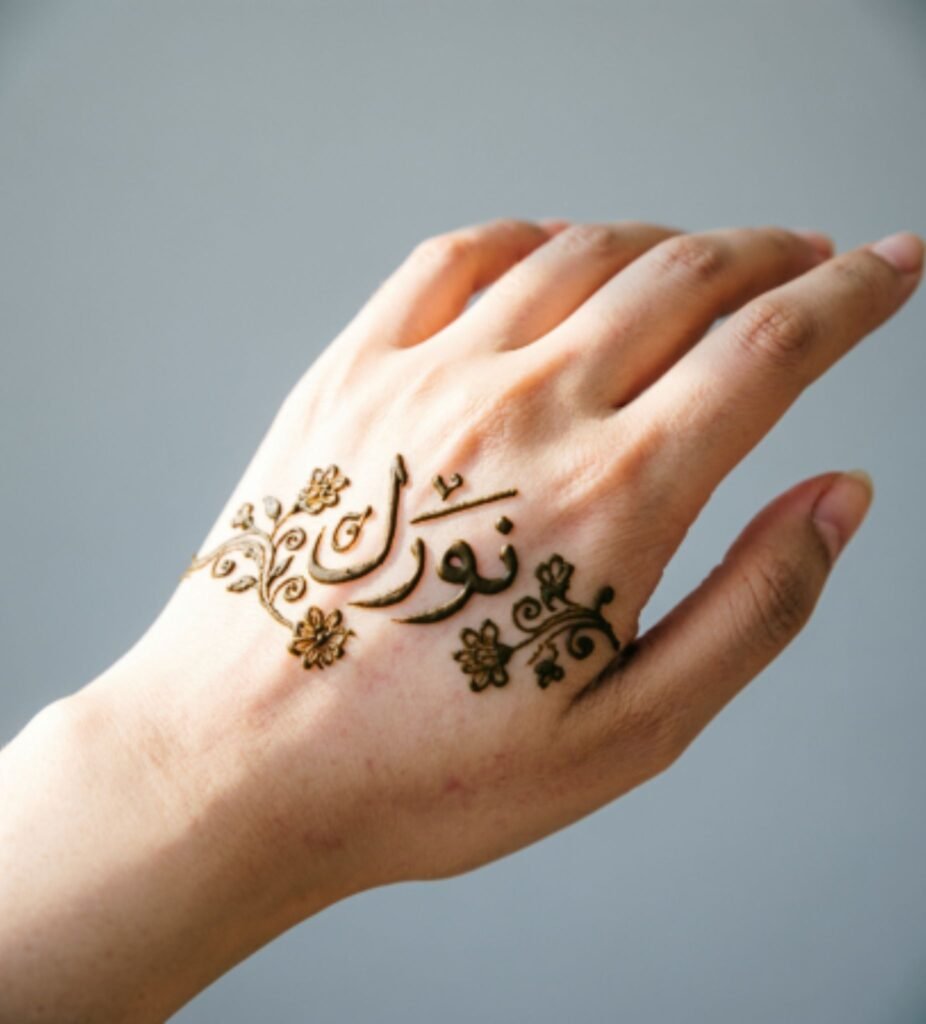
5. Arabic Style Simple Name Mehndi
Arabic mehndi is world famous for its “Thick Outlines” and bold, flowing patterns. When incorporating names into these bold designs, creating contrast is essential.
Pro Tip: Within the bold strokes of Arabic design, write the name in fine lines (thin lines) so it clearly stands out. This contrast is what makes the design interesting.
Arabic Elements with Name:
- Thick floral trails as borders
- Name in thin cursive at the center
- Bold leaves surrounding the lettering
- Shaded petals for depth
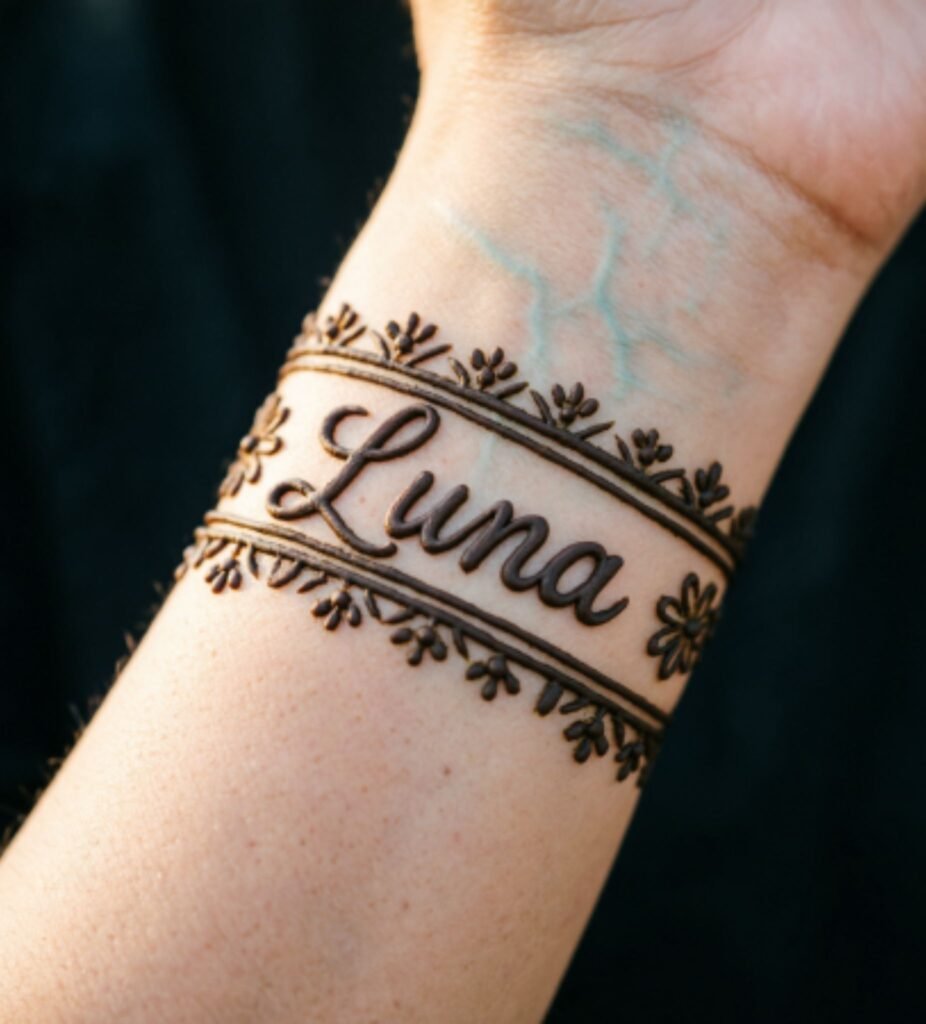
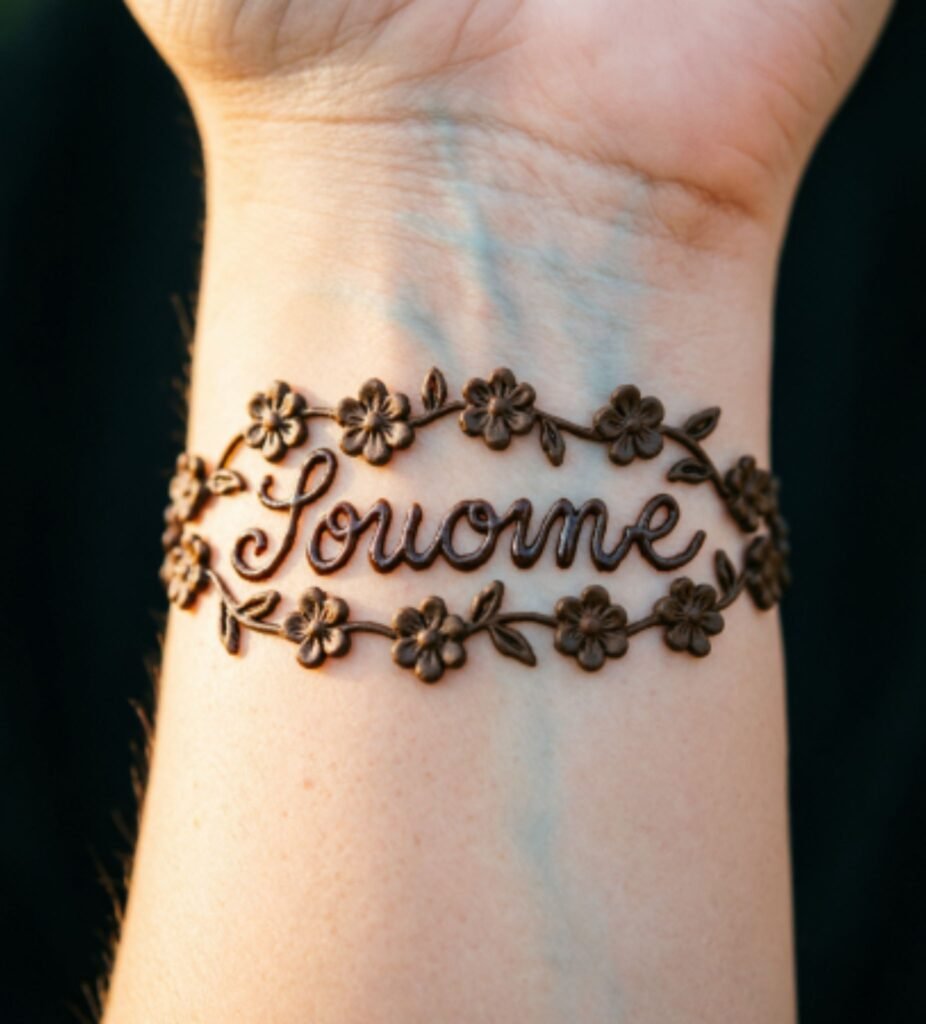
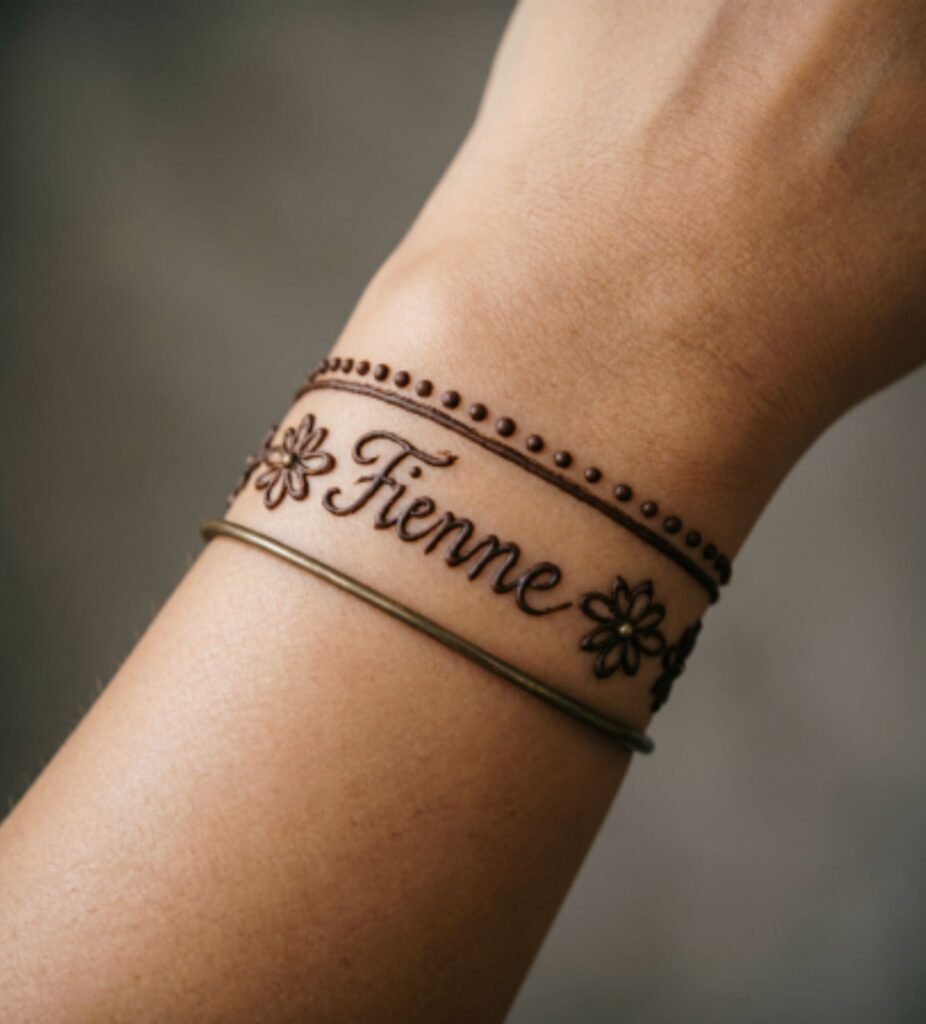
6. Bracelet Style Wrist Name Designs
This design is perfect for modern women who are office going or don’t like wearing daily jewelry. Bracelet-style mehndi names give a “Tattoo style” look that’s very chic and contemporary.
Perfect For:
- Working professionals who prefer delicate jewelry
- College students who want a trendy look
- Those who love minimalist aesthetics
Bracelet Style Ideas:
- Chain link pattern with name as pendant
- Beaded bracelet design with name woven in
- Cuff style with name on inside wrist
- Multiple thin bands with name on one

Tips for Darker Stain
Getting a rich, dark mehndi stain makes your personalized name designs look even more striking and long lasting. The secret to achieving that deep maroon or chocolate brown color lies in proper aftercare and a few tried and tested tricks. Here’s how to get the best results:
1. Let It Dry Completely
After applying your simple mehndi design with a name, let it dry naturally for at least 2-3 hours. The longer, the better. Patience is key to a darker stain!
2. Apply Lemon-Sugar Mixture
Once dry, create a sealing mixture by combining lemon juice and sugar (2:1 ratio) and dab it gently over the dried mehndi using a cotton ball. This helps the design stick to your skin and intensifies the color.
3. Avoid Water for 12 Hours
Don’t wash the area for at least 12 hours after removing the dried henna. When you do scrape it off, use a butter knife or your fingernail rather than water, as moisture can lighten the stain.
4. Apply Natural Oils
For maximum darkness, apply a thin layer of mustard oil, coconut oil, or eucalyptus oil after removal. These oils seal in the color and create a protective barrier.
5. Keep Your Hands Warm
Heat helps the color develop beautifully, so keep your hands warm after application. You can gently warm them near a stove or use the steam from hot water.
6. Avoid Chlorine and Harsh Soaps
Stay away from chlorinated water and harsh soaps for the first 24 hours, and you’ll be rewarded with a gorgeous, deep stain that makes your name mehndi truly unforgettable
Conclusion
Simple mehndi designs with names are the perfect way to add a personal, heartfelt touch to any celebration or everyday moment. Whether you’re a beginner experimenting with minimalist patterns or someone looking for elegant designs for your special day, these styles offer beauty without complexity. Embrace the art of personalized henna and let your mehndi tell your unique story one name at a time!